Warning: preg_match(): Compilation failed: unrecognized character follows \ at offset 1 in /home/r5652521/public_html/soma-engineering.com/wp-content/themes/affinger/functions.php on line 1548
Warning: preg_match(): Compilation failed: unrecognized character follows \ at offset 1 in /home/r5652521/public_html/soma-engineering.com/wp-content/themes/affinger/functions.php on line 1548
Warning: preg_match(): Compilation failed: unrecognized character follows \ at offset 1 in /home/r5652521/public_html/soma-engineering.com/wp-content/themes/affinger/functions.php on line 1548
Warning: preg_match(): Compilation failed: unrecognized character follows \ at offset 1 in /home/r5652521/public_html/soma-engineering.com/wp-content/themes/affinger/functions.php on line 1548
こんにちは!
今回は、Azure PowerShell でAzureに接続する方法を書きました。
Azure の需要がだいぶ増えてきているなかで、AzureVM の操作、例えばリソースの管理をする場合は Azure PowerShell を使う事が多くなっているのではないでしょうか。
2016 年の市場調査ですが、パブリッククラウドにおいて、Azure は 2 位で、 AWS の次に利用されているようです。
導入数1位はAWS、検討数1位はAzure--MM総研が国内クラウド動向調査 (リンクをクリックしますと別タブで開きます。)
https://japan.zdnet.com/article/35093622/ | ZDNet Japan
また、Azure で Linux などが使えるようになった事もあり、まだまだ需要は伸びてゆくと思います。
Azure を使ったことが無い方
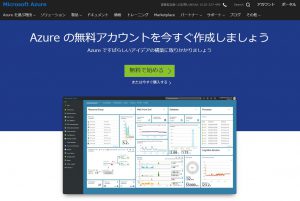
Azure を使っていない方は無料のアカウントが作成できます。(2018年5月時点での確認)
また、アカウントを作成しますと、もれなく 22,500 円の無料クレジットが付いてきます。(2018年5月時点での確認)
(クリックしますと別タブが開きます。)
Azure の無料アカウント
https://azure.microsoft.com/ja-jp/free/ | Microsoft Azure
Azure PowerShell のインストール
本記事の内容を進めるには、Azure PowerShell のインストールが必要です。
Azure PowerShell のインストールについては、記事を書きましたのでこちらをご参考いただけると幸いです。
(リンクをクリックしますと、新しいタブが開きます。)
Azure PowerShell で Azure に接続する
1. まず、AzureRM モジュールを読み込みます。
|
1 |
PS C:\Users\User> Import-Module -Name AzureRM |
2. Azure に接続します。
Connect-AzureRmAccount コマンドレットを使います。
|
1 2 3 4 |
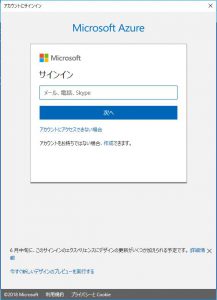
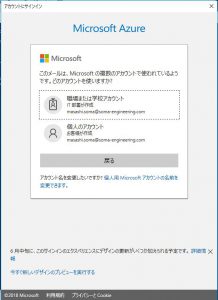
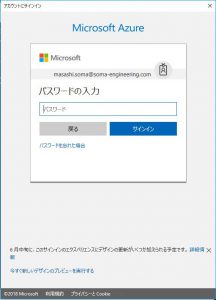
PS C:\Users\User> Connect-AzureRmAccount # 実行結果、以下の認証ウィンドウが表示されます。 |
3. 認証が完了しますと、以下のようにアカウントについての情報が表示されます。
|
1 2 3 4 5 6 7 8 9 10 |
PS C:\Users\User> Connect-AzureRmAccount # 認証結果 Account : masashi.soma@soma-engineering.com.testrs.jp SubscriptionName : 従量課金 SubscriptionId : 消してます TenantId : 消してます Environment : AzureCloud |
4. 契約しているサブスクリプションを表示することもできます。
|
1 2 3 4 5 6 7 8 9 10 11 12 13 |
PS C:\Users\User> Get-AzureRmSubscription # 実行結果 Name : Azure Pass Id : 消してます TenantId : 消してます State : Disabled Name : 従量課金 Id : 消してます TenantId : 消してます State : Enabled |
以上となります。
Azure PowerShell を使って、Azure に接続する事ができました。
これで、Azure のリソースを作成したりする事ができるようになります。
いかがでしょうか。
次のステップへ進めたい方は、Azure のリソース管理についての記事を読まれる事をお勧めいたします。
(クリックしますと、ページが移動します。)
【Azure】Azure PowerShellでリソースグループを作る
では最後までお読みいただきありがとうございます!
おすすめの本はこちら ↓↓↓
